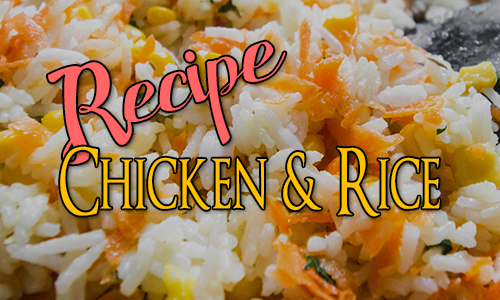
Dillegrout - more like Dille-icious
Wonderful Chicken & Almond Stew
So this is a recipe from Tasting History with Max Miller. If you have not seen his channel on Youtube, run, do not walk, to check it out, because it is utterly fabulous, as is Max (he really used to be a Disney Prince). 💜 Some wonderful recipes, some not so wonderful too (Kykeon - just nope), but always packed full of fantastic historical information, brilliantly presented and 100% entertaining.
This is Max's video all about Dillegrout:
Make sure to like the video and subscribe to Max's channel - you will not regret it.
Now, I have used Max's recipe, but I have adjusted the method to use my Instant Pot (probably sacrilegious, but I love my Instant Pot), and I reduced it so it will feed 2, since Max's recipe would do for at least 4 I should think. It is very yummy and like nothing else I have had before. It is very nice served with Jersey Royal new potatoes and I think it would also be good with some in season runner beans.
Ingredients
Main stew
- 1/2 cup / 60g blanched almonds - I used flaked almonds for speed
- 1.5 cup / 355ml white wine - something on the sweeter side, I used a Pino Grigio
- 1.5 lb / 750g chicken - I used 2 chicken breasts and 3 thighs (UK sized, US tend to be much bigger than ours)
- 1/8 cup / 25g sugar
- 1/8 tsp ground clove
- 1/4 tsp ground mace
- 1/8 cup / 20g (ish) pine nuts (I added a little bit more because I love pine nuts 😉)
- 1/4 tsp dried ginger (I could not find dried ginger for love nor money, so used crystallised ginger which seemed to work really well - I added a pinch of ground ginger as well to make up the flavour)
- 1/2 tsp salt
- 1 tbsp / 15ml white wine vinegar
- 1/2 tsp rose water
- 1/4 tsp ground ginger
Instructions
- Put almonds in cool water to soak for min 1 hr - preferably for several (I know 1hr works because I forgot and had to rush, but more would be better).
- When almonds have soaked long enough, chop the dark meat and give it a good pounding - I did this between cling film to stop me flinging bit of meat across the room 😂. Keep the breasts whole.
- Drain the almonds and place in a blender (or a bowl if using a stick blender like I did) with the wine and blitz until you can blitz no more to make the almond milk. It smelled amazing - almost like pear drops.
- Sieve the almond milk through cheese cloth lying in a fine sieve, allowing to drain and then giving the cheese cloth a squeeze when most of the liquid is through. (I have kept the almond paste that was left over and intend to make frangipane with it).
-
Add the almond milk to the Instant Pot, then add the chicken breasts with
the beaten dark meat on top (thigh meat is more likely to stick, so best to make
sure it is not under the breasts to begin with), then the spices,
seasoning and pine nuts from the first part of the list above.

- Close the Instant Pot, set to sealing, then pressure cook (also known as manual) for 20 mins.
- Allow natural pressure release for 10 mins.
- Open the pot and take out the chicken breasts, hit cancel, then the sauté option on high.
- Chop the chicken breast and return to the pot as it comes to a boil. Allow to bubble and reduce for another 10 mins or so.
- Turn off the sauté option.
- Add the vinegar, rose water and ground ginger, and stir in.
- Serve in bowls with the sides of your choice. It was really good with the new potatoes and would probably be awesome with some artisanal bread of some description and/or lighter flavoured veggies like green beans or peas. Not sure it would go with a brassica though.


It might work with jack fruit, for my vegetarian friends - something I may try in the future. Might need a wee bit of veggie stock to bulk out the flavour though, since the chicken does add some.
And there you have it, Dillegrout a la Instant pot. Remember - go check out Tasting History, it's wonderful - one of my go to channels for feel good content. Try out Max's recipe for Sally Lunn Buns too, if you get the chance - so good!
New Book
Mina's Children: The Legacy of Dracula

Regina Harker, immortal, vampire tainted, descendant of the famous Mina, has
spent her whole life preparing for one mission: destroy Dracula.
Mina
Harker (nee Murry) was changed by Dracula's attentions and so were her
descendants. Reggie comes from this line of vampire hunters, nature's
definitive balance to the darkness. Her whole life has been building up to
this one mission in Romania, to face the evil that started everything for her
family. Unfortunately there are others with their eyes on Dracula too,
and Reggie has run right into them. She must make them allies or remove them
from the game before she can face the ultimate foe.


📚Join My Newsletter📚